
Menu
Chronicle, player level, rates, city & tax
C1
Player Lv
Level difference multipliersMob level minus your level. Colors match the mob name in game.
Lower-level mobs give less XP/SP. Drops, spoil and adena decrease at larger level gaps.
| Lv diff | XP/SP | Loot/Spoil | Adena |
|---|---|---|---|
| 0 or higher | 100.0% | 100% | 100% |
| −1 | 90.9% | 100% | 100% |
| −2 | 82.6% | 100% | 100% |
| −3 | 75.1% | 100% | 100% |
| −4 | 68.3% | 100% | 100% |
| −5 | 62.1% | 100% | 100% |
| −6 | 56.4% | 83% | 100% |
| −7 | 51.3% | 65% | 100% |
| −8 | 46.7% | 47% | 100% |
| −9 | 42.4% | 29% | 88% |
| −10 | 38.6% | 11% | 75% |
| −11 | 35.0% | 11% | 62% |
| −12 | 31.9% | 11% | 49% |
| −13 | 29.0% | 11% | 36% |
| −14 | 26.3% | 11% | 23% |
| −15 | 23.9% | 11% | 11% |
| −16 or lower | ≤ 21.8% | 11% | 11% |
Rates x1
Giran Castle Town
Tax: 0%
NPC pricing contextCity and tax affect NPC shop prices used in calculators.Tax is applied on top of base NPC prices.Player market prices are not modified by these controls.
Player Lv
Level difference multipliersMob level minus your level. Colors match the mob name in game.
Lower-level mobs give less XP/SP. Drops, spoil and adena decrease at larger level gaps.
| Lv diff | XP/SP | Loot/Spoil | Adena |
|---|---|---|---|
| 0 or higher | 100.0% | 100% | 100% |
| −1 | 90.9% | 100% | 100% |
| −2 | 82.6% | 100% | 100% |
| −3 | 75.1% | 100% | 100% |
| −4 | 68.3% | 100% | 100% |
| −5 | 62.1% | 100% | 100% |
| −6 | 56.4% | 83% | 100% |
| −7 | 51.3% | 65% | 100% |
| −8 | 46.7% | 47% | 100% |
| −9 | 42.4% | 29% | 88% |
| −10 | 38.6% | 11% | 75% |
| −11 | 35.0% | 11% | 62% |
| −12 | 31.9% | 11% | 49% |
| −13 | 29.0% | 11% | 36% |
| −14 | 26.3% | 11% | 23% |
| −15 | 23.9% | 11% | 11% |
| −16 or lower | ≤ 21.8% | 11% | 11% |
Rates x1
C1
Giran Castle Town
Tax: 0%
NPC pricing contextCity and tax affect NPC shop prices used in calculators.Tax is applied on top of base NPC prices.Player market prices are not modified by these controls.
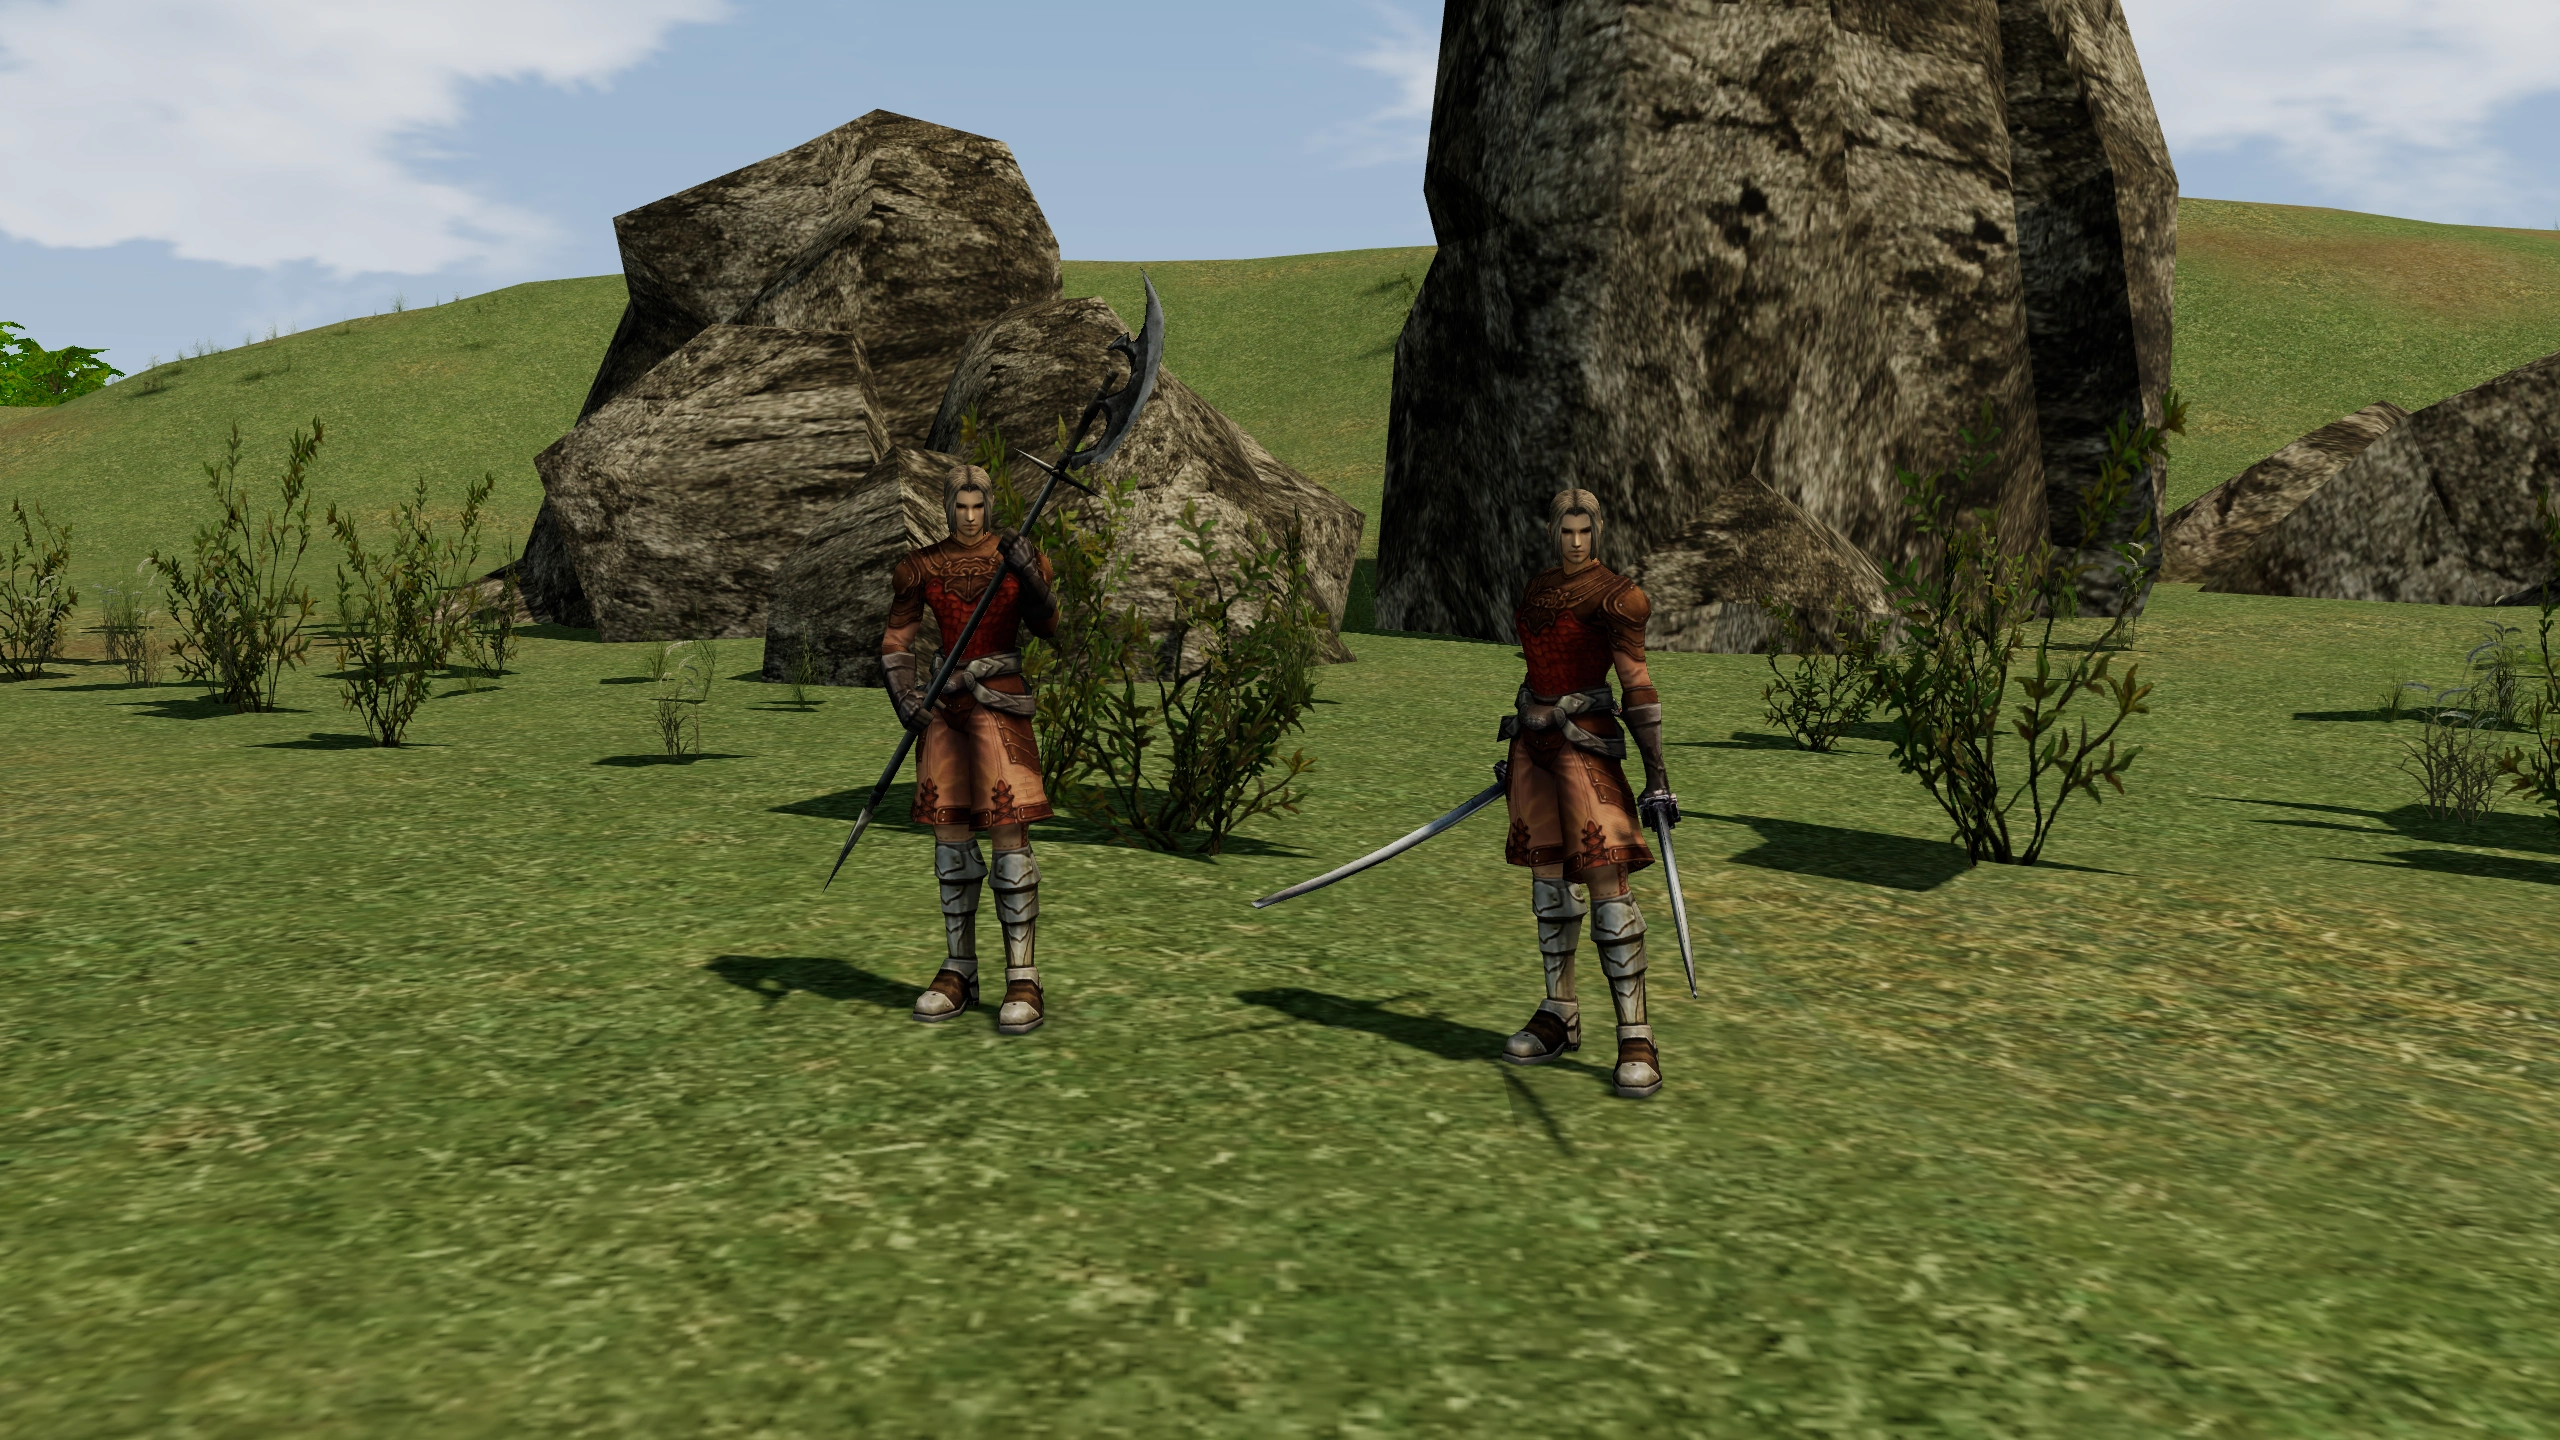
 Polearm Mastery
 Whirlwind
 Thunder Storm
 Provoke
 Dual Weapon Mastery
 Focus Sonic
 Sonic Blaster
 Double Sonic Slash