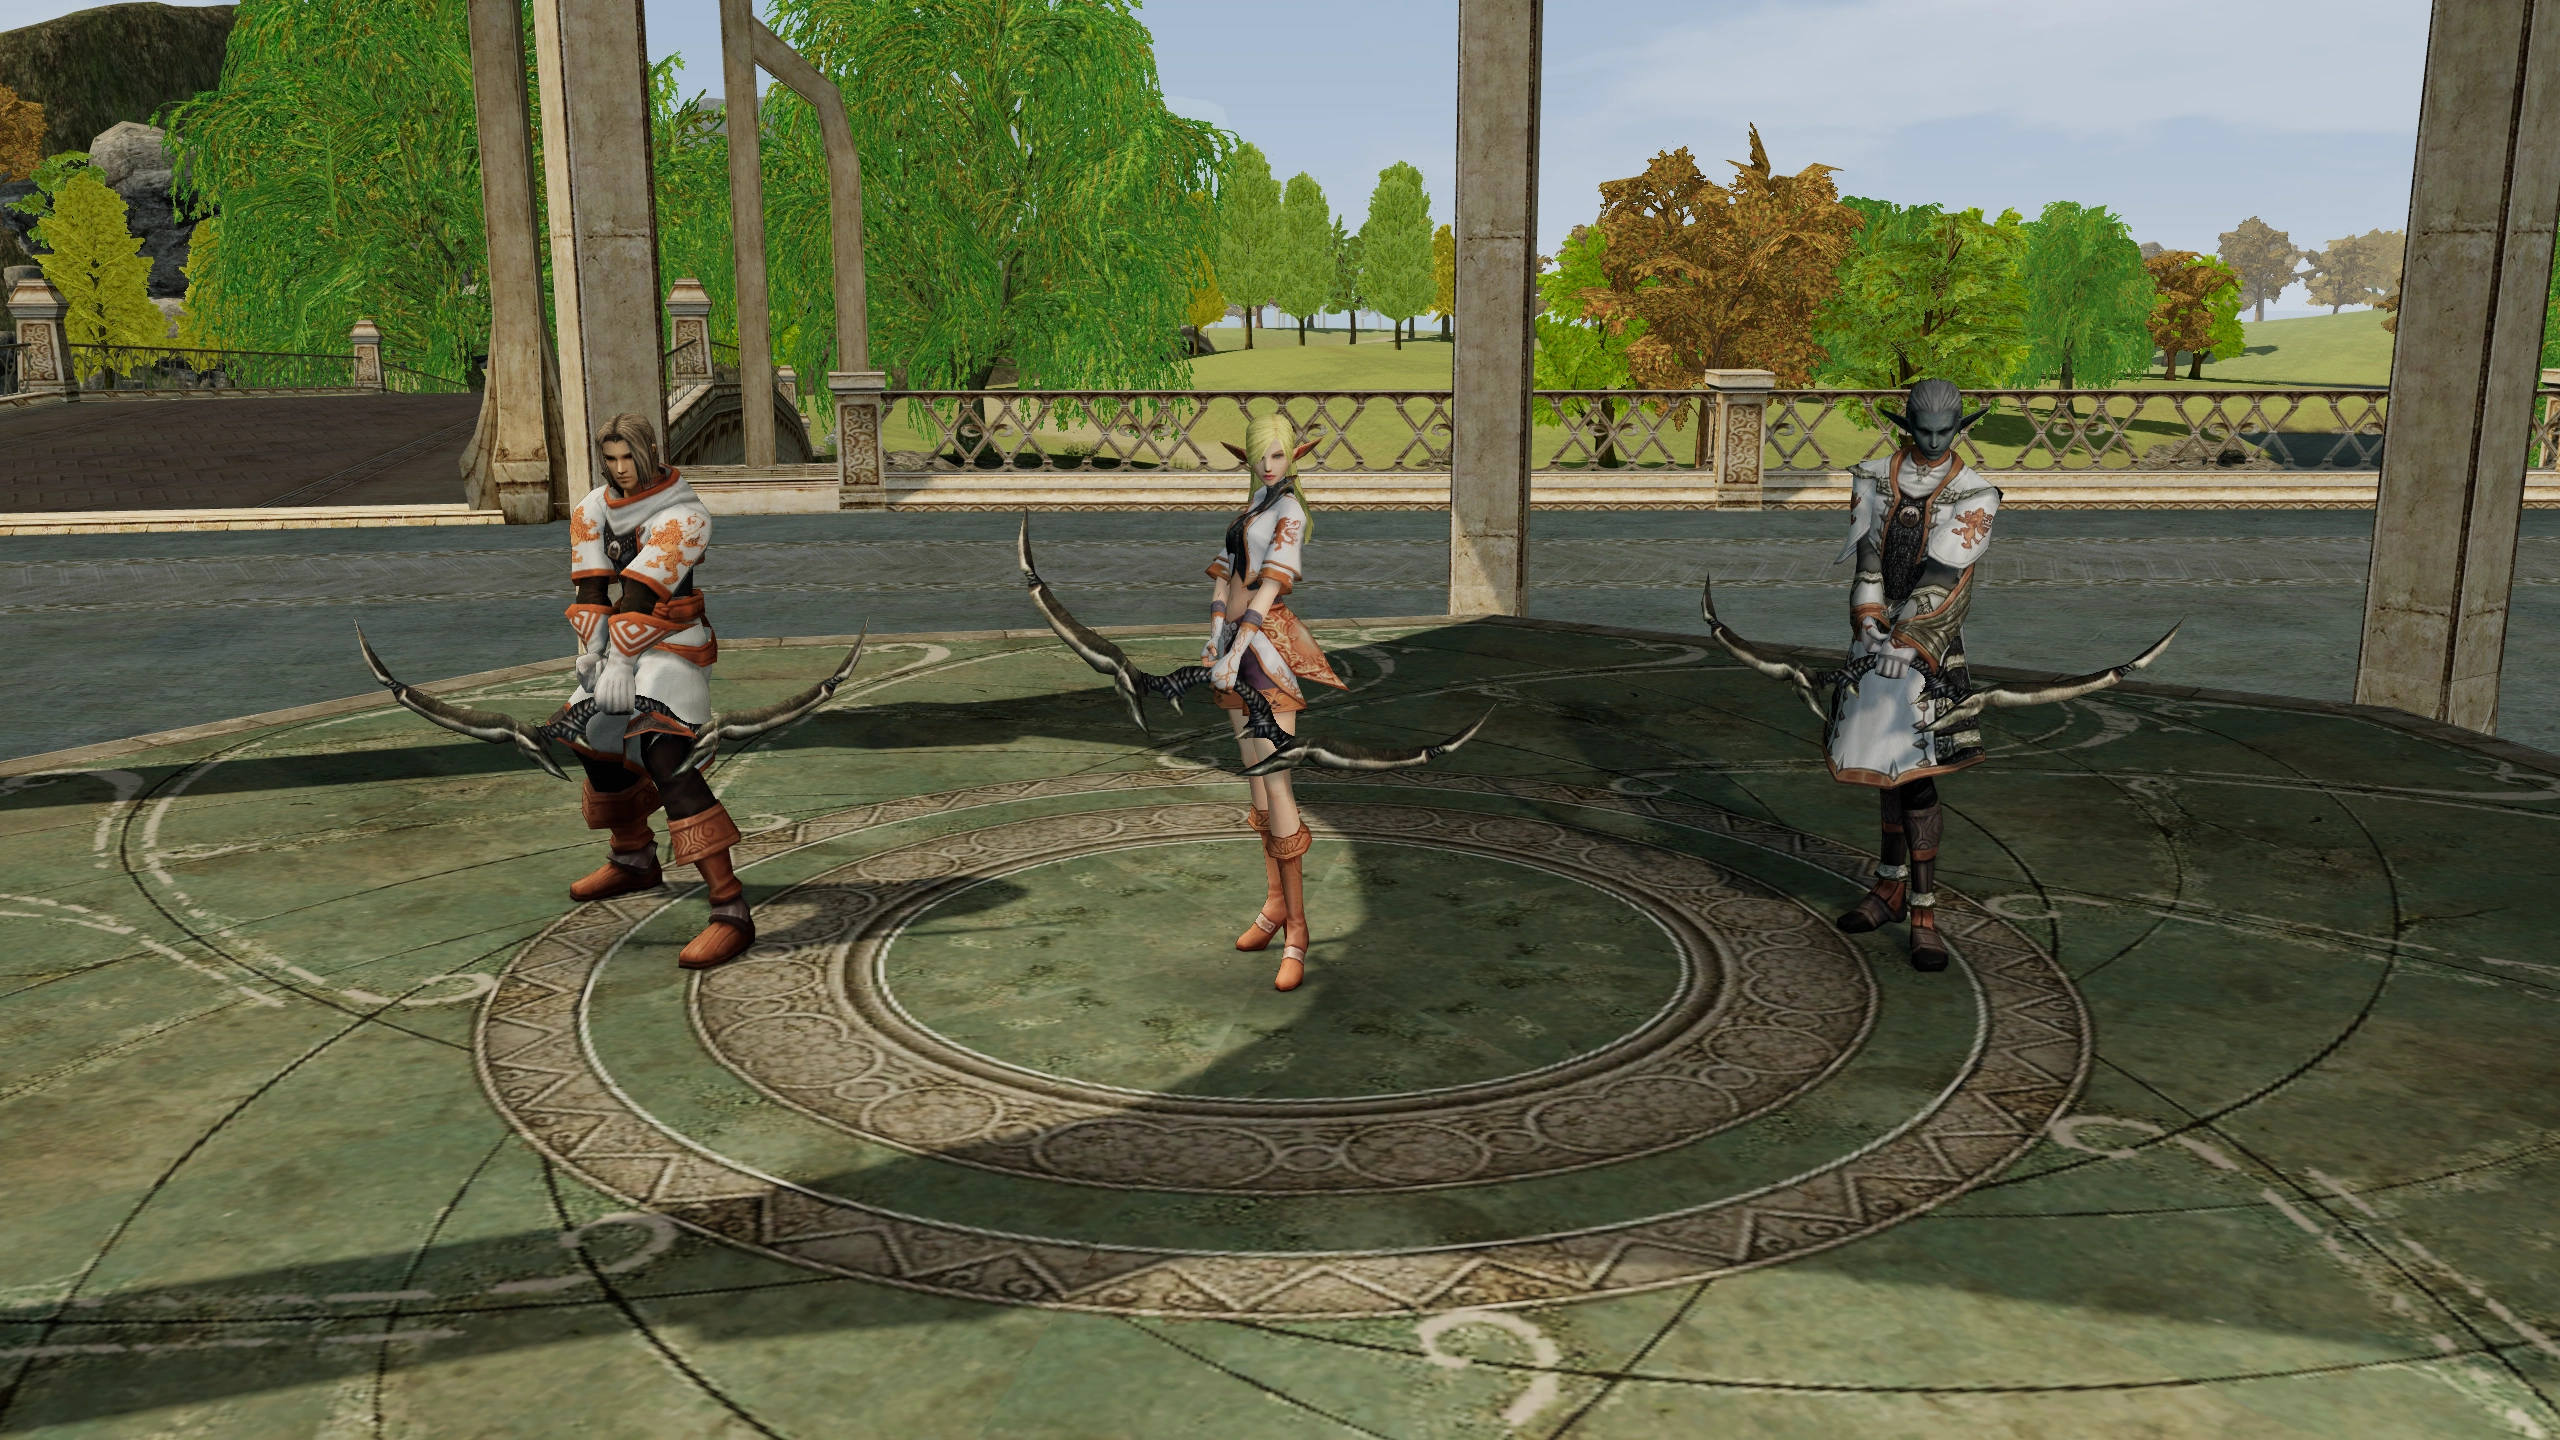
Compare the three C1 archer destinations through native skills, arrows, shots, positioning and their three second-class quests.
Hawkeye, Silver Ranger and Phantom Ranger all advance toward ranged combat, and the C1 records give each
Bow Mastery,
Double Shot,
Long Shot and
Stun Shot in the second-class range. Their differences lie in the tools around those attacks. One path trades defense for accuracy, another adds movement and protective utility, and the third weakens or slows enemies. Compare the fight you want to repeat: safe distance, time spent drawing enemies apart, MP spent on skills and adena spent on ammunition. A class that looks strong in one isolated hit may be harder to sustain over a full route.
Hawkeye's
Hawk Eye raises accuracy while reducing P.Def, so its benefit has a defensive cost when an enemy reaches you. Silver Ranger's recorded path includes
Elemental Heal and later
Entangle and
Sprint, giving it more ways to recover or control distance. Phantom Ranger has
Hex and
Freezing Strike at its second-class start, offering ways to reduce a target's defense or movement. The skill table shows availability, not guaranteed success against every monster. Open the linked class page for learn levels and check the specific skill effect before committing SP or planning a party role around it.
| Second class | Distinct C1 skill examples | Tradeoff to test |
|---|---|---|
| Hawkeye | Accuracy gain versus reduced P.Def and supply cost | |
| Silver Ranger | Utility and movement versus MP spent on control | |
| Phantom Ranger | Debuff value versus casts and positioning |
Double Shot is a damage option, while
Stun Shot can interrupt a dangerous approach when it lands. Hawkeye's extra accuracy may matter against a hard-to-hit target, but the P.Def reduction makes careless close-range trading less attractive. Silver Ranger can use movement and control to keep space; Phantom Ranger can test whether
Hex or
Freezing Strike shortens a difficult pull. Record which action actually prevents damage or reduces time to kill. Spending MP on every skill against an easy target can make the next, dangerous target harder because the archer arrives without a reserve.
A bow consumes arrows, and using shots adds another recurring supply cost. Check the bow's grade before buying ammunition and Soulshots; the C1 item pages below give concrete D- and C-grade examples. Carry enough for the planned route without filling the inventory so completely that drops cannot be collected. An archer's supply calculation should include failed or interrupted pulls, not just the arrows required for a perfect string of kills. If the route ends because arrows run out, the theoretical damage of a more expensive bow never becomes useful.
| C1 supply | Grade | Planning use |
|---|---|---|
| D | D-grade bow ammunition | |
| D | Physical shot supply for a D-grade weapon | |
| C | C-grade bow ammunition | |
| C | Physical shot supply for a C-grade weapon |
A ranged character gains time when a target must travel, but nearby aggressive monsters can turn a backward run into a second fight. Mark a retreat lane before attacking and keep it clear of the healer and other party members. In a group, let the designated puller establish one target before adding damage; when solo, move in a direction you have already checked rather than fleeing blindly. Control skills are tools for a specific moment, not a substitute for knowing the spawn. Revisit the route if you spend more time escaping mixed pulls than finishing clean ones.
Use the C1 Char Builder at the level you actually expect to play, with the same bow, armor grade and shot plan for each candidate class. Inspect the learned skills rather than assuming later-chronicle abilities are present. Then open the Mob Comparator for a pair of targets and note their HP, defenses, ranged pressure and base rewards. A brief in-game test should record arrows used, MP spent, damage taken and time between kills. Keeping target and equipment constant makes a class comparison meaningful; changing everything at once only produces a story about different setups.
Each archer destination has a Trial, a race-linked Testimony and a final Test. The three routes share Trial of the Seeker, but their Testimonies differ and the final proof still belongs to the selected class. Open the linked 3-in-1 guide for the intended destination before crossing the map; it groups the three quest chains into a single itinerary while the individual quest pages preserve the exact NPC and item objectives. The class page beside it tells you which bow skills the completed transfer makes available.
| 3-in-1 transfer guide | Trial | Testimony | Test |
|---|---|---|---|
| Hawkeye | Trial of the Seeker | Testimony of Trust | Test of Sagittarius |
| Silver Ranger | Trial of the Seeker | Testimony of Life | Test of Sagittarius |
| Phantom Ranger | Trial of the Seeker | Testimony of Fate | Test of Sagittarius |