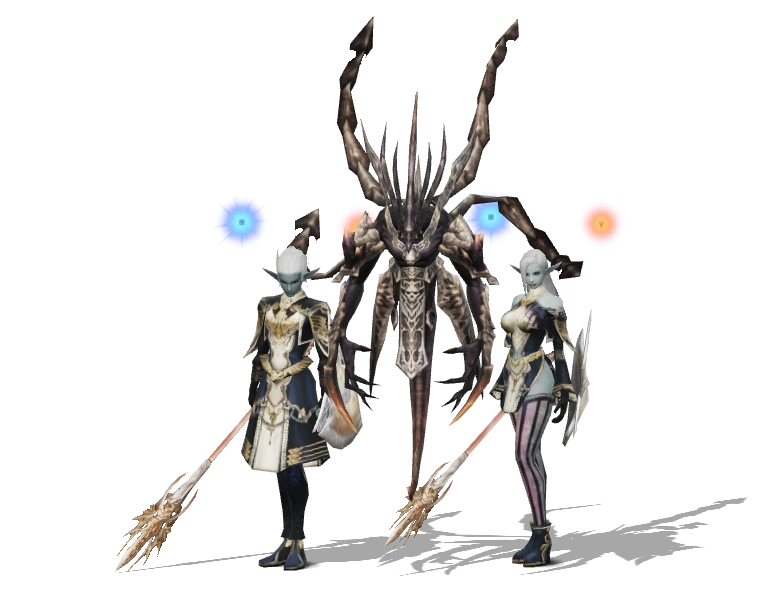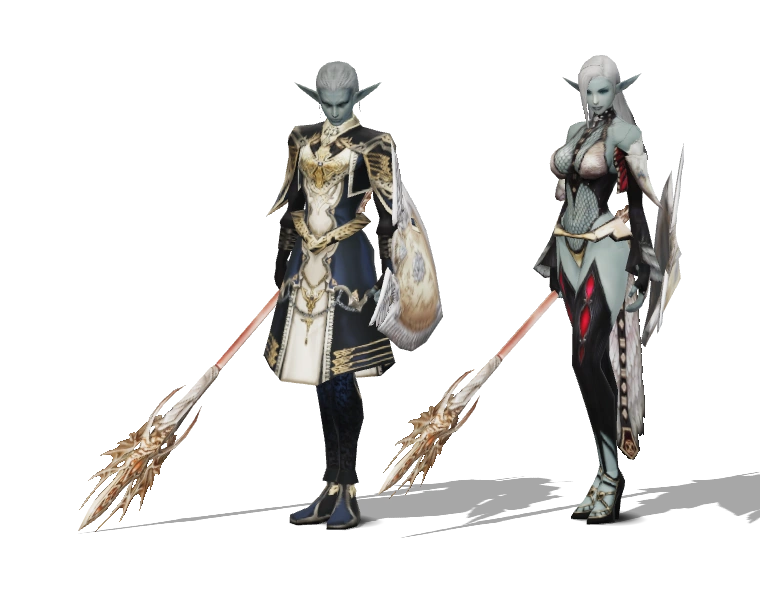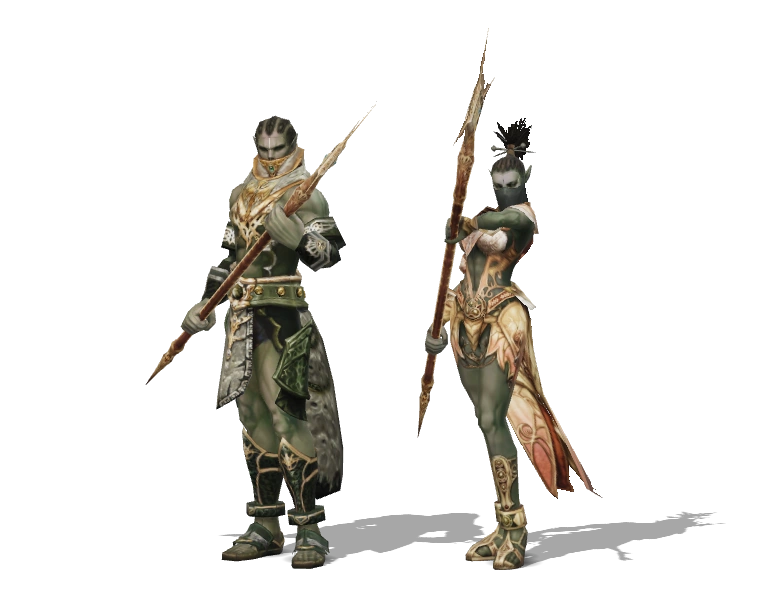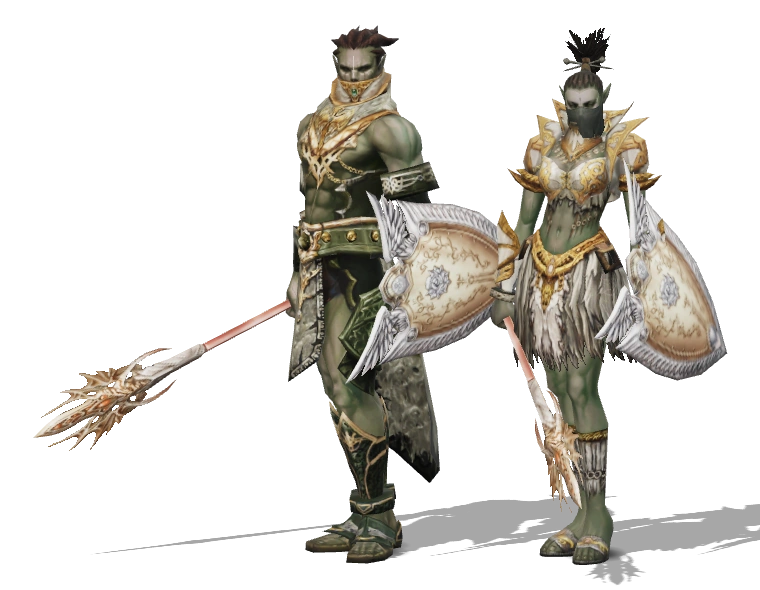
Treasure Hunter →
Adventurer
Get in on your terms.
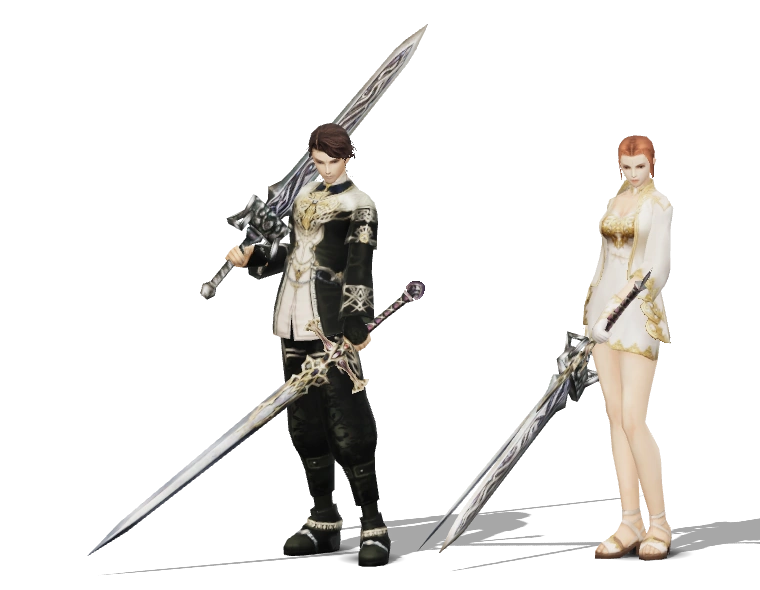
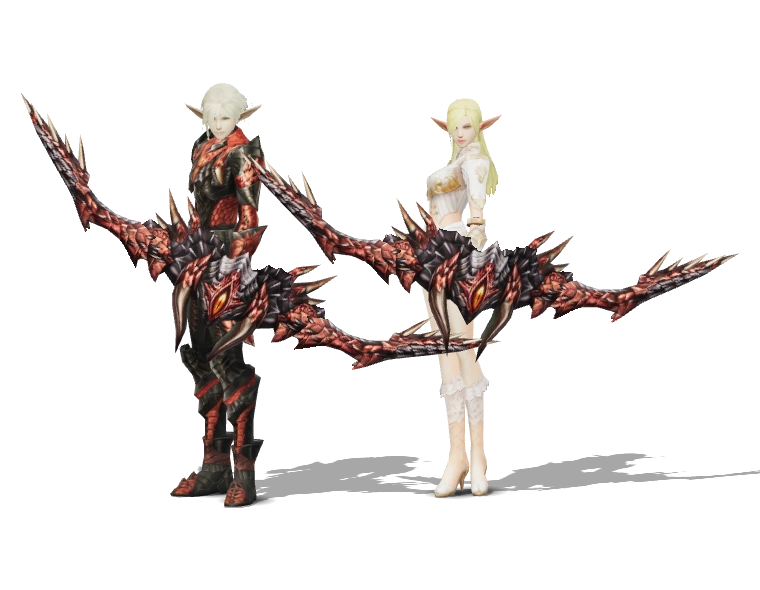
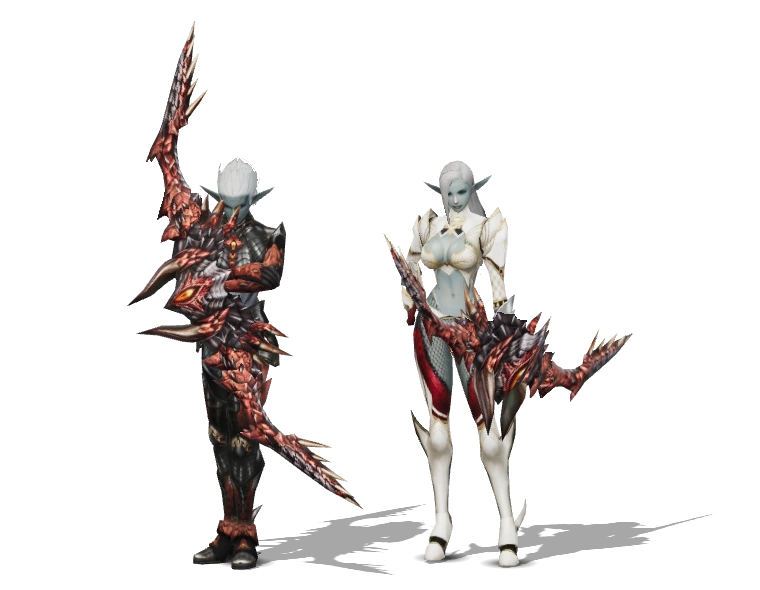
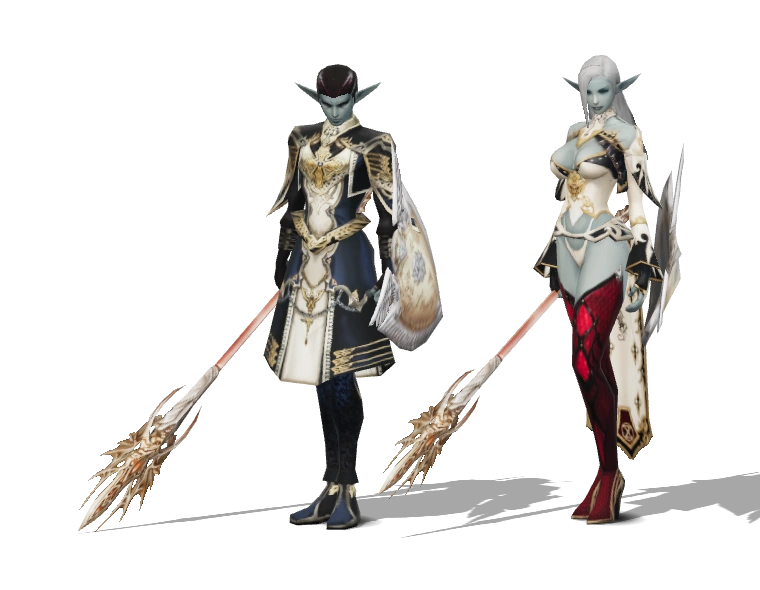
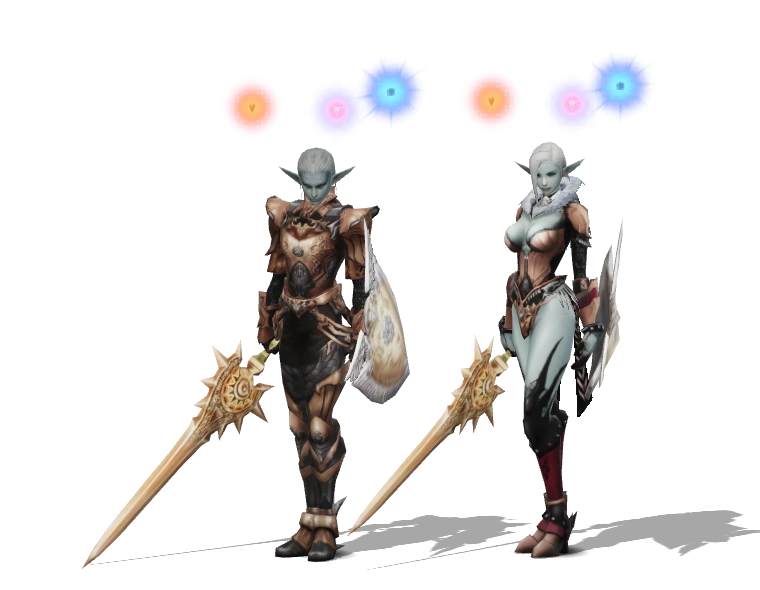
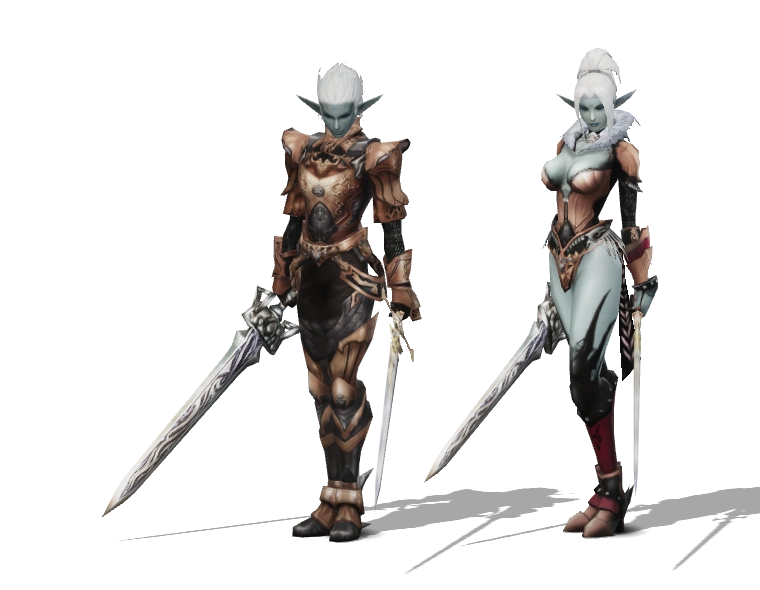
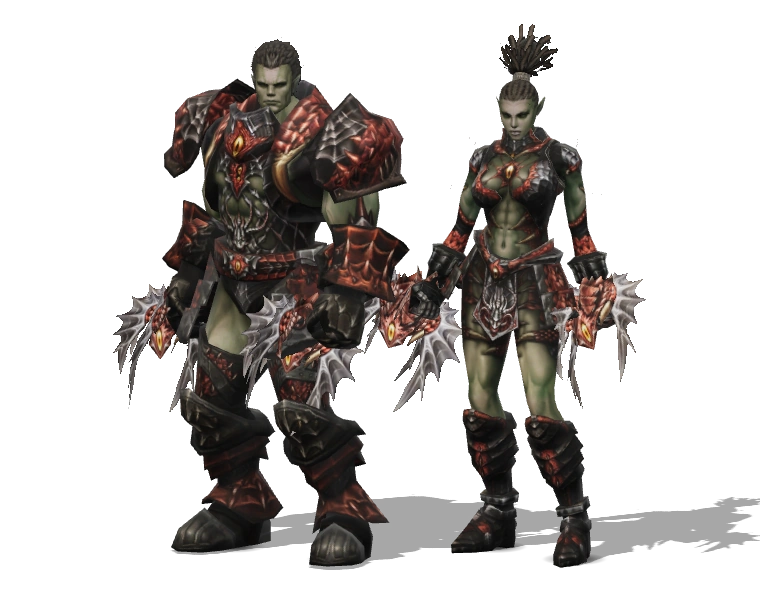
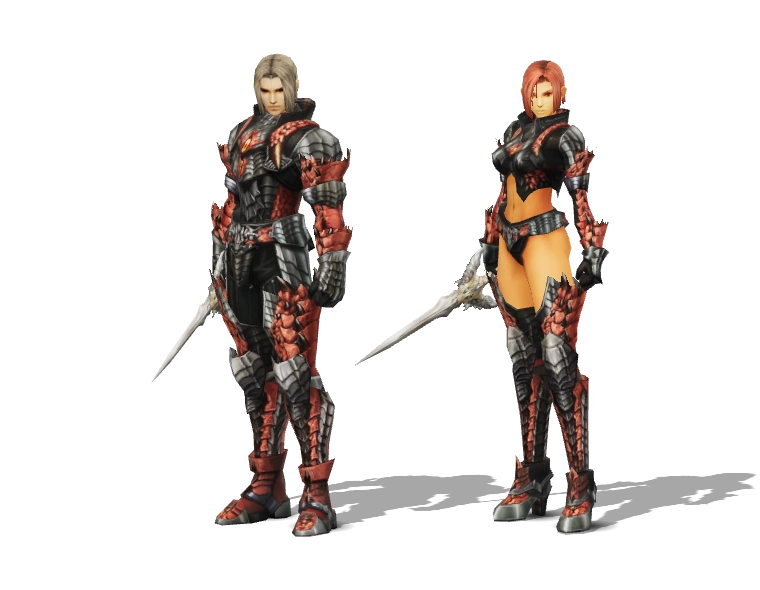
The human dagger combines Dash with close-range blows and, much later, Mirage. You create a short opening, reach a useful angle and try to finish before the target or its party regains control.
INTERLUDE · CLASSES & TRANSFER QUESTS
The daily routine, the party role and the tradeoffs behind all 31 final professions.
FIND YOUR PLACE IN THE PARTY
A class is a commitment. Look at the routine, the party job and the tradeoffs before you pick the portrait.
31 classes
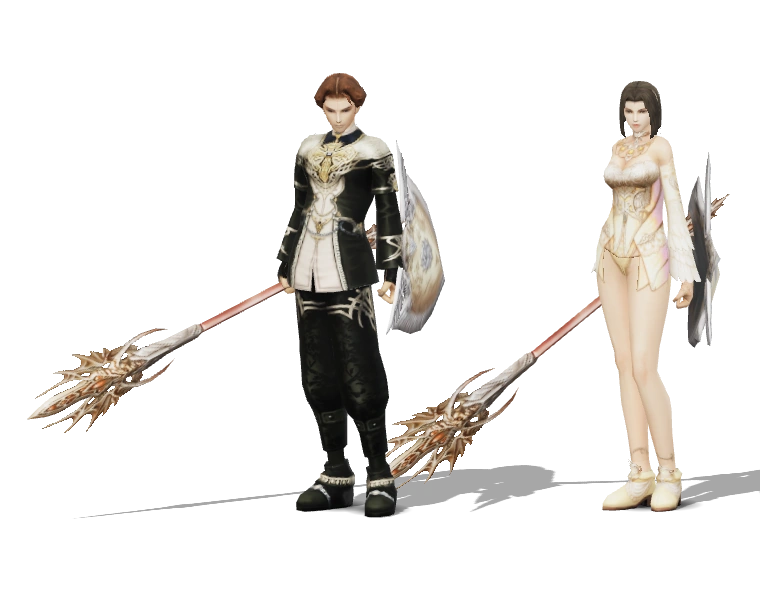
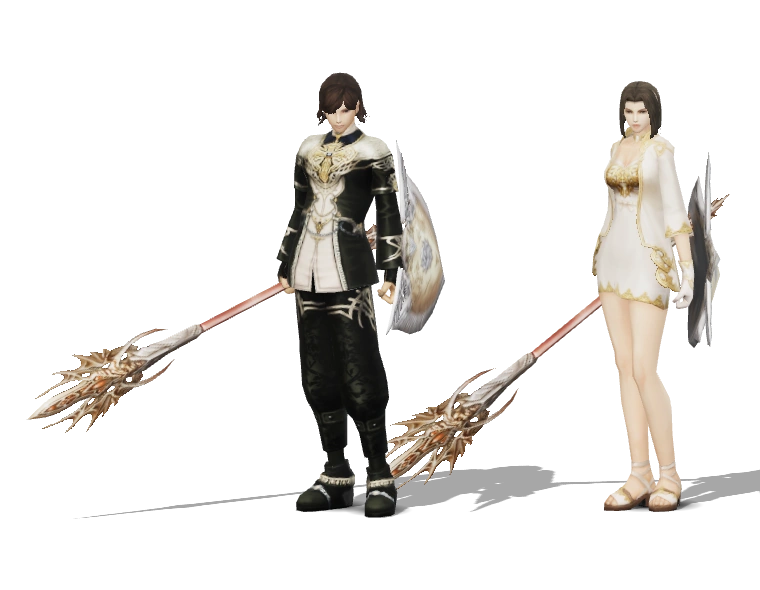
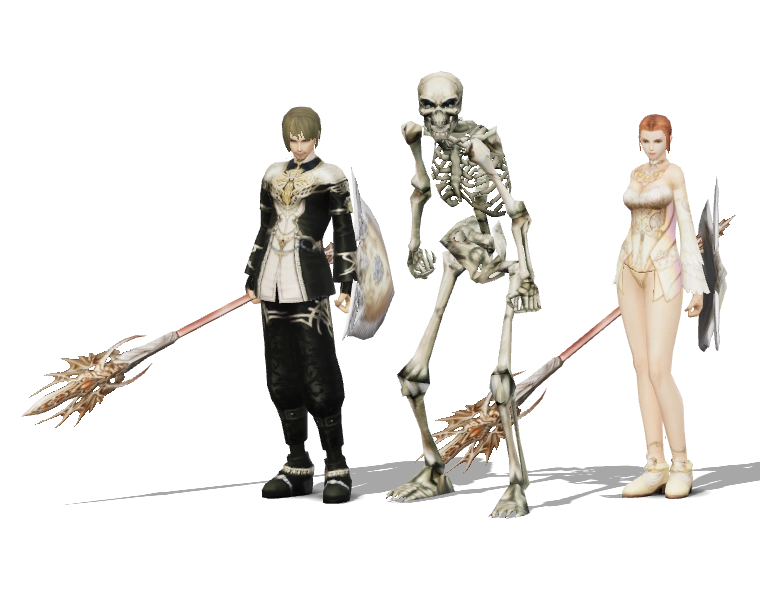
Select two classes to compare their tradeoffs.Treasure Hunter →
Get in on your terms.
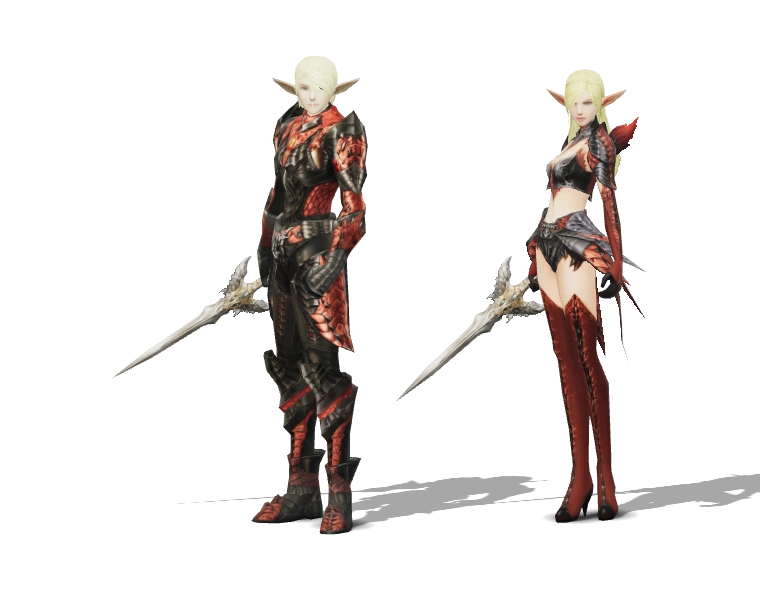
The human dagger combines Dash with close-range blows and, much later, Mirage. You create a short opening, reach a useful angle and try to finish before the target or its party regains control.

Warlock →
Your cat choice changes your job.
A cat summoner whose pet choice changes the party role. Kai supports personal farming, Feline Queen boosts physical attackers, and Feline King is a late combat option rather than the pet you level with initially.
Sorcerer →
Firepower with a mana bill.
A fire nuker with direct damage, area spells and Cancellation. You switch between assisting a single target, stripping useful buffs and punishing a pack that your group has gathered safely.
Bishop →
Read the fight before the health bars collapse.
The dedicated healer path rewards triage: efficient healing for ordinary damage, a protective cooldown before lethal pressure, and the right recovery after a mistake. Your attention belongs on the fight as well as the HP bars.
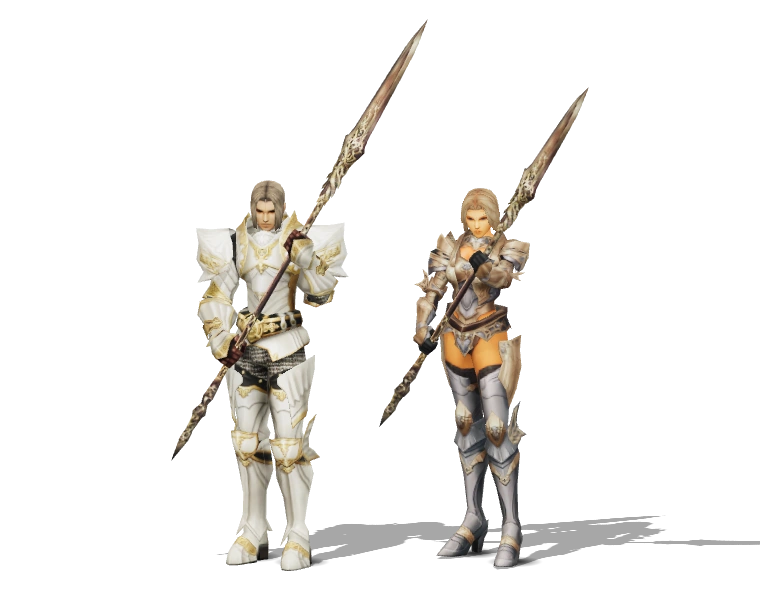
Warlord →
The pull is your damage multiplier.
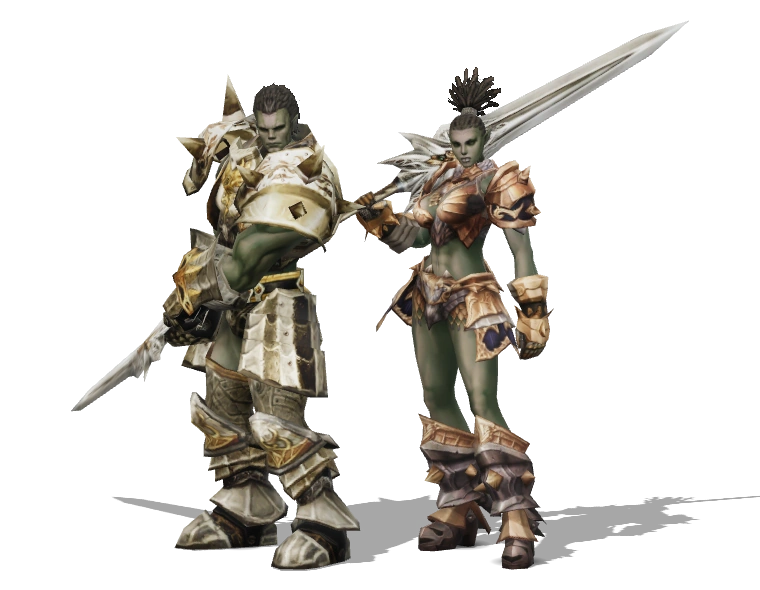
A polearm specialist who turns a well-shaped mob pack into damage. Pull size, terrain and stun timing matter as much as the weapon: you are managing the whole train, not just its first target.
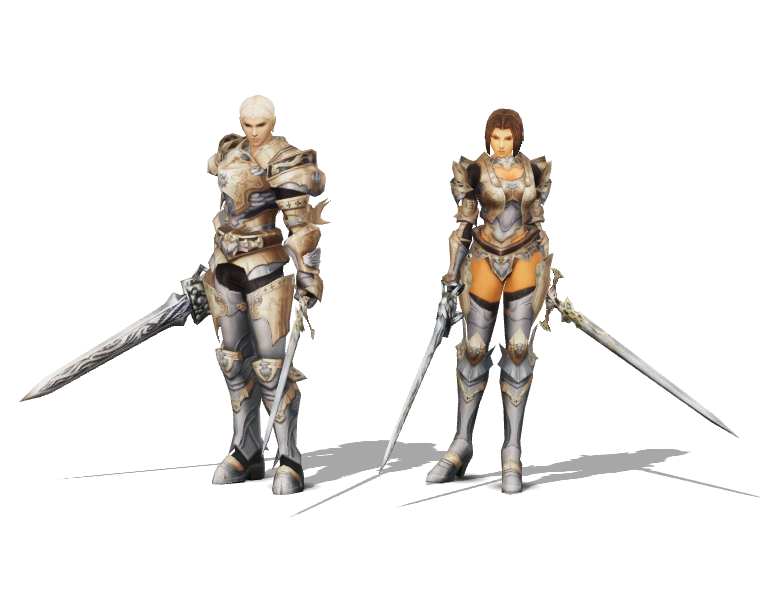
Gladiator →
Build charges. Choose your burst.
A dual-sword fighter whose real decisions revolve around sonic charges: build them, find a target and spend them on burst. Ranged sonic attacks let you threaten someone before reaching sword range.
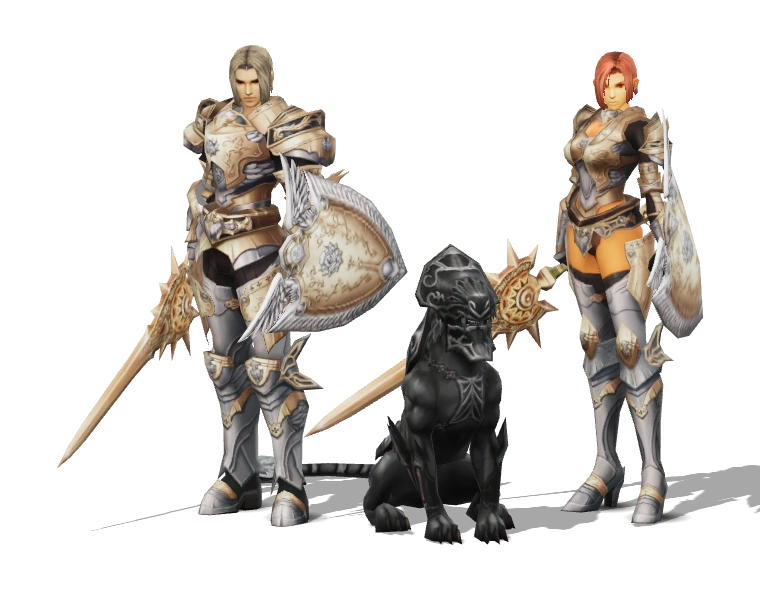
Dark Avenger →
A shield in front. A panther on the target.
The human tank that brings a second attacker. You hold a target with shield control while the Dark Panther supplies damage, making summon positioning and survival part of your tanking routine.
Prophet →
A small group's buff foundation.
A versatile buffer for small groups, built around individual buffs such as Acumen, Berserker Spirit and Haste. You tailor the setup to each player, then contribute control and upkeep between rebuff cycles.
Paladin →
Stay standing. Keep someone else standing.
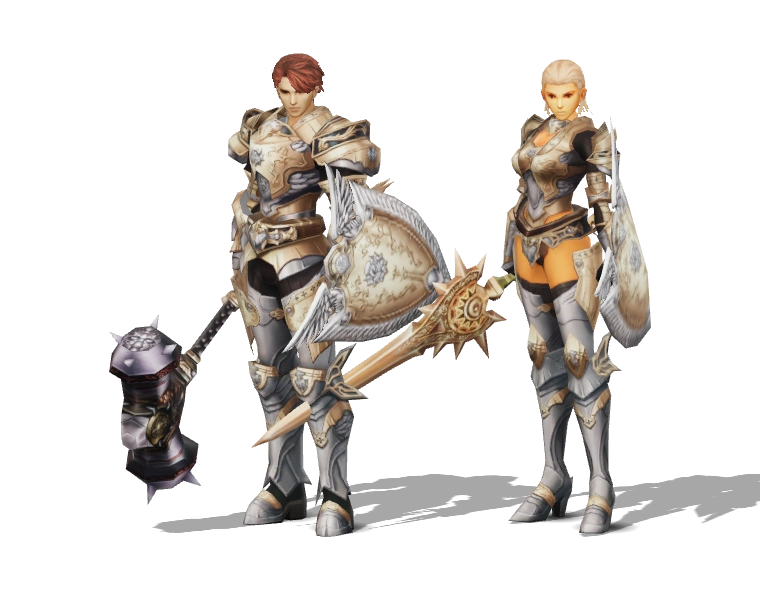
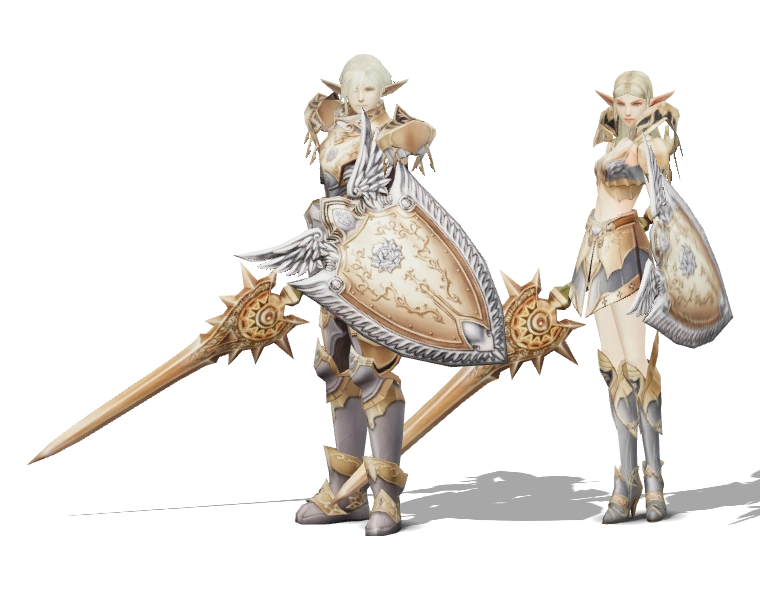
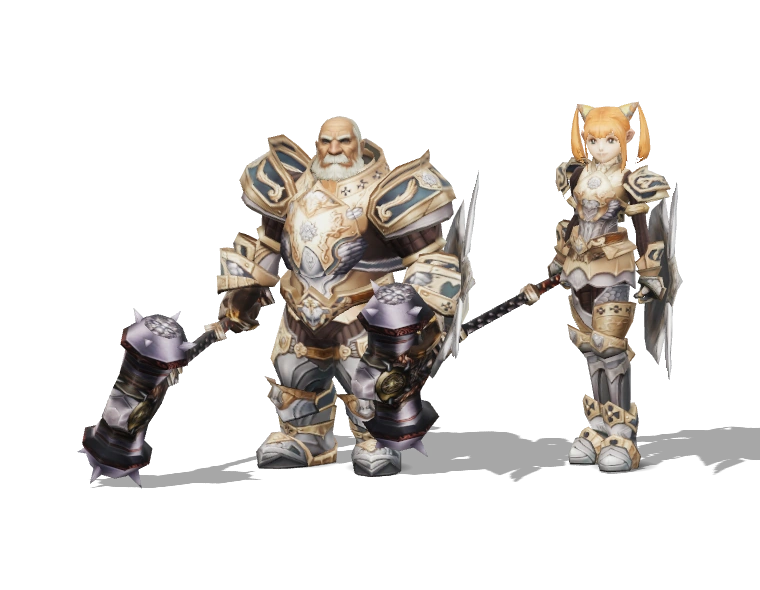
A human shield tank with healing decisions woven into the fight. Shield Stun controls a threat, Sacrifice spends your own HP to save someone, and Angelic Icon creates a conditional offensive window.
Hawkeye →
Know when to plant your feet.
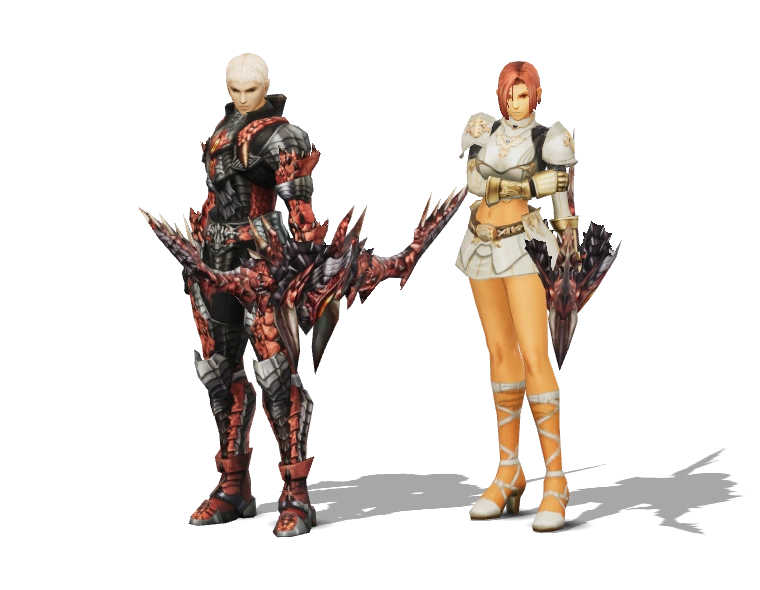
A human archer built around deliberate firing positions. Hawk Eye trades defense for accuracy, while Snipe trades movement for a stronger ranged setup: choosing where to stand is part of choosing your damage.
Necromancer →
Make the opponent's toolkit stop working.
A dark nuker whose threats extend beyond damage: Silence, Anchor and later Curse of Doom attack the opponent's ability to act. A servitor also turns Transfer Pain into an important defensive resource.
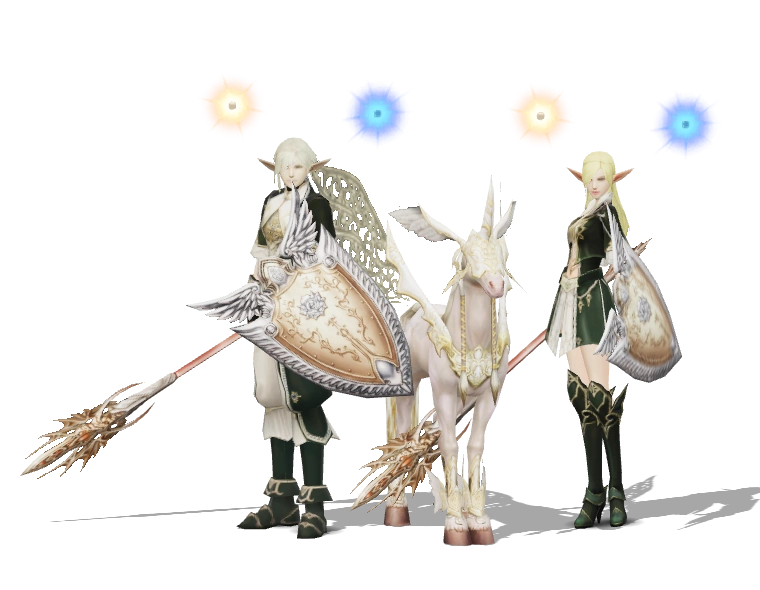
Elemental Summoner →
A unicorn for the job in front of you.
A unicorn summoner with distinct farming and caster-support jobs. Merrow provides an area-damage option during leveling, Seraphim supports a mage party, and Magnus adds a late combat choice at 79.
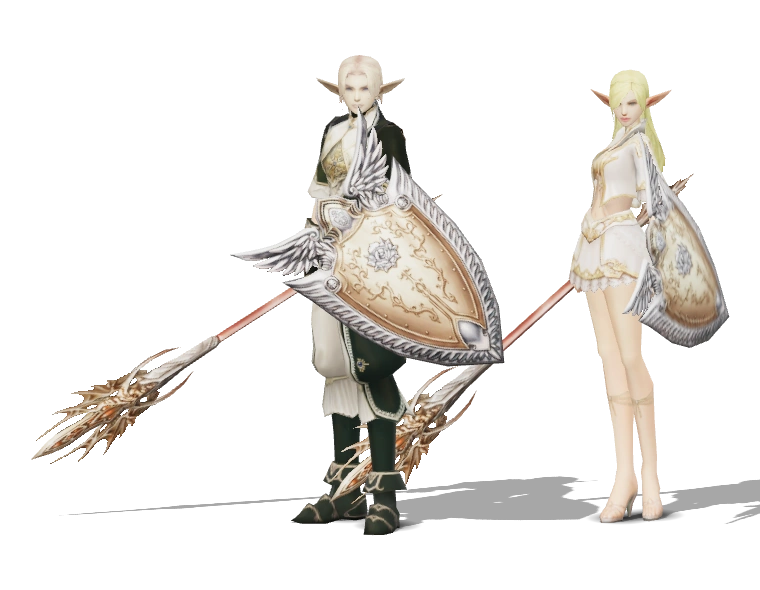
Elven Elder →
Keep the mana flowing, keep an exit ready.
A healer and recharger whose value grows through mana efficiency and recovery tools. Recharge, Clarity and later Prophecy of Water support demanding casting groups, while Party Recall gives the group an escape option.
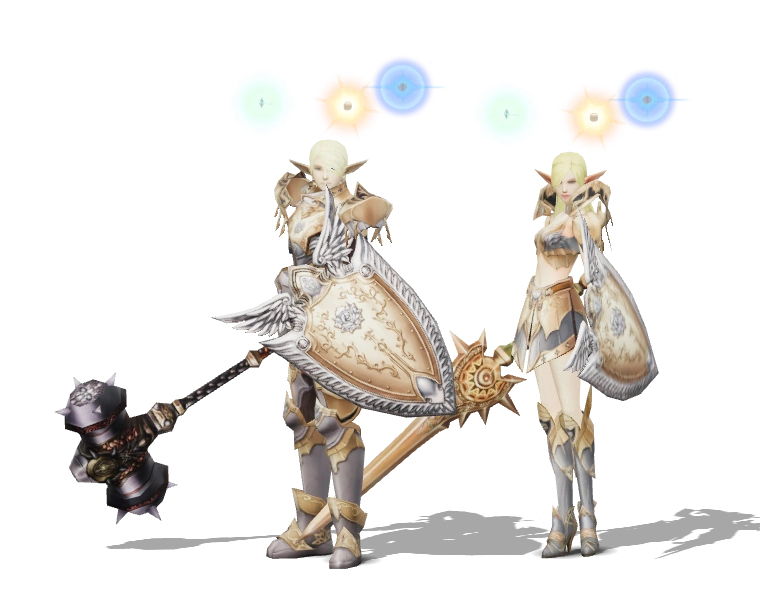
Temple Knight →
Win by staying difficult to remove.
An elven shield tank with a cubic toolkit that mixes damage, healing and control. Life Cubic can help the owner and party, but its automatic activations complement your tanking rather than replacing a healer.
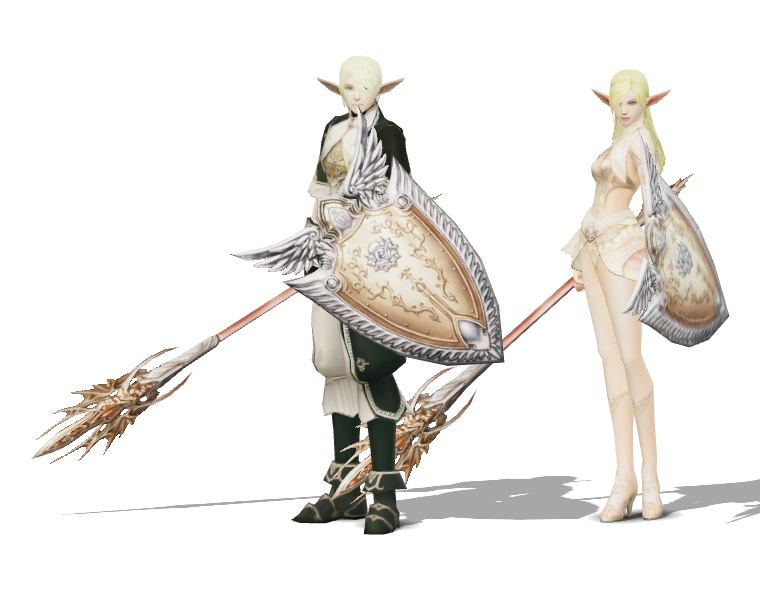
Silver Ranger →
Movement is part of the attack.
The elven archer pairs Sprint with Entangle to create distance on favorable terms. Rapid Fire later offers more attack pressure at reduced range, giving you a reason to choose your engagement distance carefully.
Spellsinger →
Set the casting tempo.
A water caster that combines direct nukes with Cancellation and close-range Aura Flash. You pressure from range, disrupt an opponent's buffs and use casting opportunities efficiently rather than relying on an HP-to-MP farming loop.
Swordsinger →
Keep the rhythm. Keep the party moving.
A mobile support fighter whose songs improve the entire party. Defensive songs, movement speed and critical rate make your presence valuable, but the set you sing should match the fight and your available MP.
Plains Walker →
Earn the angle, then take the hit.
An elven dagger that uses Sprint and Entangle to work toward a favorable angle. Rear access becomes especially important with Focus Death, while Dodge later gives a specific answer to incoming melee attack skills.
Abyss Walker →
Turn a good angle into a bad day.
A dark-elven dagger that pairs Hex with positional blows. You want a vulnerable target, a useful rear angle and enough time to finish the sequence before enemy control forces you away.
Phantom Ranger →
Make each clean shot count.
A dark-elven archer with Hex and an offensive stance built around heavier individual hits. Dead Eye improves attack, accuracy and critical damage while slowing attack speed, so clean shot opportunities matter.
Shillien Elder →
A partner's mana, buffs and safety net.
A support healer with two strong leveling partnerships: Empower and Recharge for a nuker, or Vampiric Rage for normal melee attacks. Later Prophecy of Wind extends the physical-support role with positional critical bonuses.
Shillien Knight →
A shield backed by darker tools.
A dark-elven shield tank with offensive debuffs and three different cubics. Hex weakens physical defense, Phantom Cubic weakens combat stats, and the later Vampiric and Viper cubics add draining and poison effects.
Bladedancer →
Your best damage is spread across the party.
A dual-sword support fighter who improves several attackers at once. Dance of Fire begins the physical critical-damage role, later dances support casters and attack speed, and Hex adds an active contribution between refreshes.
Phantom Summoner →
You and your servitor set the pace.
A dark summoner whose party utility comes through debuffs and Nightshade support. The choice between a farming servitor, a support servitor and the late Spectral Lord changes how you spend each fight.
Spellhowler →
Heavy spells. Deliberate resource play.
A wind nuker with an active HP-and-MP economy. Hurricane handles direct damage, while drains, Corpse Life Drain and Body To Mind let you recover resources at the cost of attention, casting time and available targets.
Overlord →
Think in clan fights, not personal damage.
A clan-and-alliance support caster whose toolkit fits organized fights. Nearby seals disrupt enemies, Heart of Pa'agrio restores allied HP, and Honor of Pa'agrio later makes CP recovery an important part of your job.
Warcryer →
Keep the whole party ready to fight.
A buffer that prepares the whole party through chants, with melee sustain early and broader late-game options. Chant of Victory supports physical and magic combat; Magnus' Chant later offers a dedicated caster alternative.
Tyrant →
Change the totem. Change the fight.
A fist fighter that changes its approach through totems, force skills and HP-dependent tools. You choose between movement, defense and damage rather than expecting one stance to solve every phase of the fight.
Destroyer →
Prepare the window. Then commit.
A heavy melee fighter built around preparing powerful low-HP windows. Frenzy, Guts and later Zealot make activation timing a real decision, while weapon choice lets you pursue single targets or polearm packs.
Bounty Hunter →
Know the spoil table before the pull.
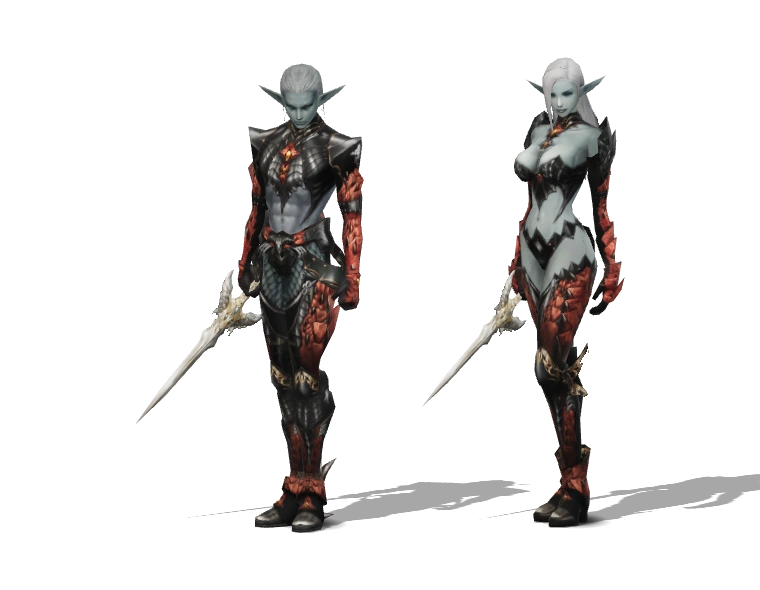
A material farmer whose route starts with the spoil table. You turn the right mobs into resources through Spoil and Sweeper, with blunt control and polearm options to help make those kills repeatable.
Warsmith →
Turn recipes into the server's equipment.
A crafter and golem user with two separate ambitions: building equipment from recipes and materials, and contributing combat summons. The huge Siege Golem is a specialized siege commitment, not the everyday leveling pet.
Written for standard Interlude. Server buffs, mana potions and custom balance can change the experience.
Your character starts in a base class. Your three profession changes happen at levels 20, 40 and 76. A quest can begin before its class-change level: Interlude first-class quests start at 19, and second-class trials start at 35, 37 and 39. Every full path contains five direct profession quests, plus the supporting quests shown for the Saga.
The three second-class quests can be followed individually or combined into one ordered route. Select your class in “Find my class quests” and use the 3-in-1 link in its level 40 stage. Browse all 3-in-1 guides →
The collection links the 18 first-class quests, 23 shared second-class trials and 31 third-class Sagas to the Interlude class tree. Quest names, starting NPCs and starting levels use the existing Interlude records. Level 76 is the final profession change; there is no further class transfer to reach Interlude’s maximum level.